
Ever feel like your smartphone does not capture life's magic moments? DSLR cameras give you hands-on control and crisp detail. They work like solving a simple puzzle where each setting helps you tell your story. This guide explains how to set up your camera and take your first great shots so you can start capturing these moments with ease and confidence.
Step-by-Step DSLR Camera Setup and First Shots
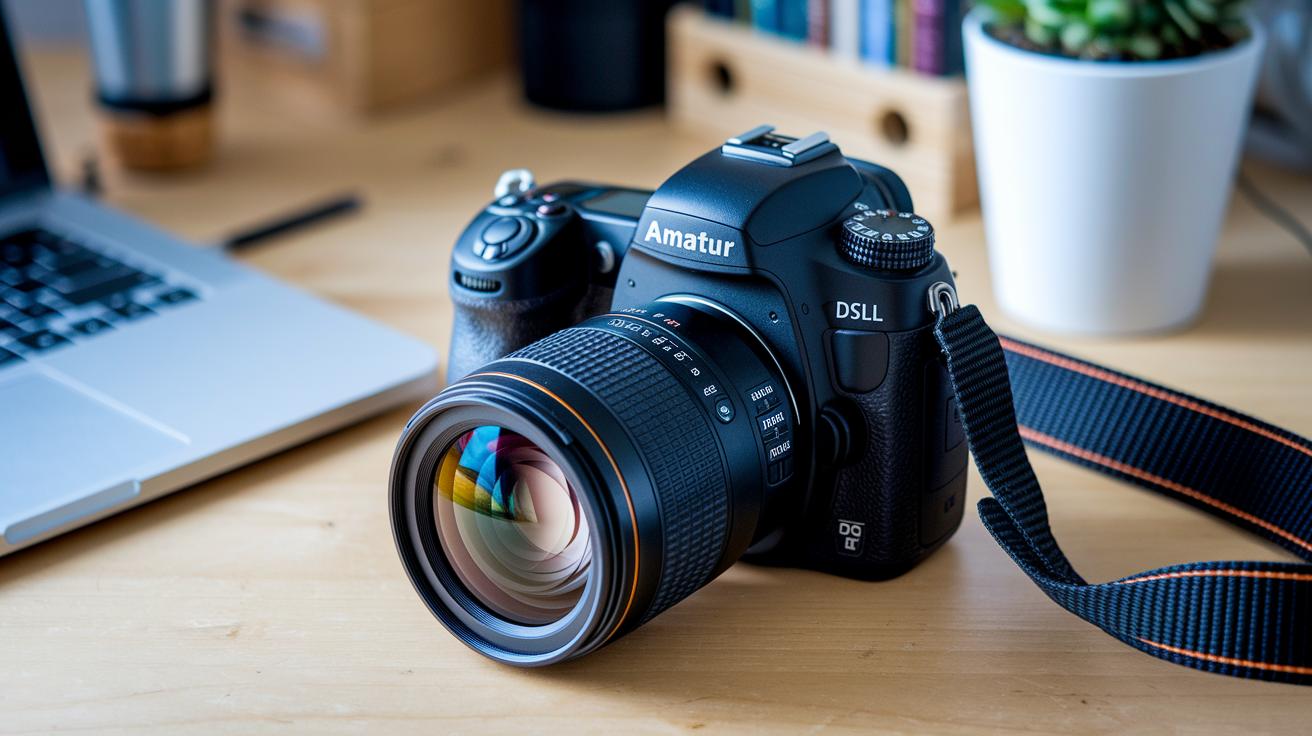
Begin by attaching your 18–55mm kit lens. Line up the marks on the lens and the camera body, then twist it until you hear a click. It’s like fitting together simple puzzle pieces.
Next, insert a fully charged battery. Open the battery door (usually on the bottom or side) and slide in the battery until it locks. Then, insert an SD card by finding its slot and pushing it until it clicks. This ensures your camera can save photos.
Now, turn on the camera. A welcome menu will appear. Use the control dial to move through the prompts. One of the first tasks is to set the date and time. Doing so tags each photo with accurate details. Follow the on-screen steps until you finish setting these options.
After that, switch the image quality setting to either RAW or Fine JPEG. This choice lets your camera capture the most detail. If you're new to the device, try a test shot in Auto mode. In Auto mode, the camera adjusts the settings for you while you work on the scene.
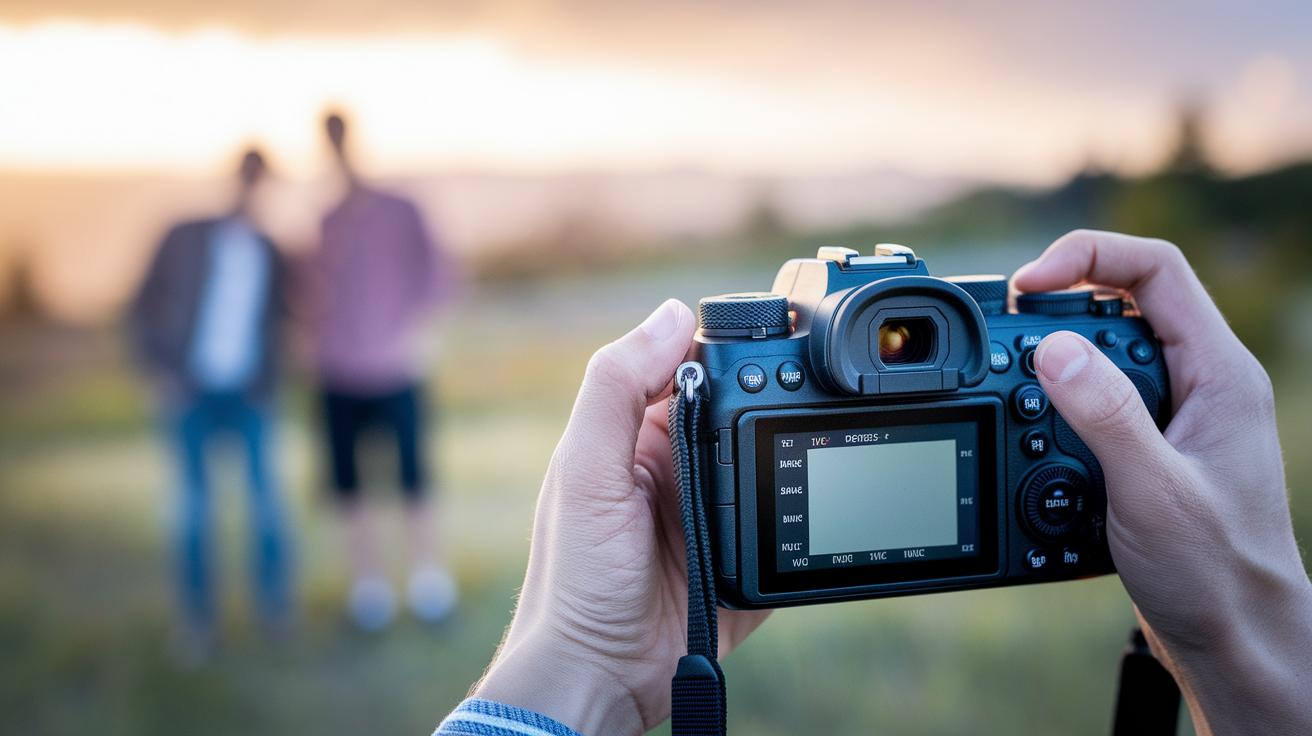
Finally, take a practice photo by pointing the camera at a bright subject, pressing the shutter button, and checking the image on the rear screen. This quick test confirms your setup worked and gives you a feel for the camera’s response time.
Understanding DSLR Camera Components and Manual Controls
Your DSLR has several main parts that let you control every shot. The mode dial, usually marked with Auto, P, Av, Tv, and M, is where you start. In Av mode, you pick the aperture (which controls depth) while the camera chooses the shutter speed for you. This is a simple way to begin exploring creative photography.
The main control dial lets you quickly change settings like shutter speed and ISO. The ISO button adjusts the sensor's light sensitivity, which is key in low-light situations. Next to it is the exposure compensation switch marked with + and – symbols. This lets you fine-tune brightness, such as lightening dark areas or lowering the exposure for bright backgrounds.
Another useful feature is the AE lock button. It holds your exposure constant even when the light changes. You can use the viewfinder or the rear LCD to frame your shot and check your images right away. Plus, menu navigation, playback, and other quick-access controls are all built in, giving you complete manual control over your DSLR.
Mastering the Exposure Triangle with Your DSLR
The exposure triangle is the core of DSLR photography. It combines aperture, shutter speed, and ISO to control your photo's brightness. Aperture is the size of the lens opening. It is measured in f-numbers like f/1.8 to f/22. A wide aperture (for example, f/2.8) lets in lots of light and makes the background blurry, which works well for portraits. A narrow aperture (such as f/8 or f/22) lets in less light and makes more of the scene in focus, which is perfect for landscapes. Try switching from f/2.8 with 1/60 second at ISO 400 to f/8 with 1/250 second at ISO 100. It shows how small changes can greatly affect brightness.
Shutter speed controls how long the sensor sees the light. It is measured from 1/4000 second to 30 seconds. A slow shutter speed like 1/30 second brightens a scene but may cause blur if the camera or subject moves. A fast shutter speed like 1/4000 second stops motion and works best in bright settings.
ISO measures the camera sensor's sensitivity to light. It is usually set between 100 and 6400 or more. A higher ISO brightens your photo, which can help in dim light. However, raising ISO too high may add noise or grain. A low ISO usually gives cleaner, sharper photos.
Balancing these three settings is key. Widen the aperture, slow the shutter speed, or increase the ISO to brighten your image. Change one setting at a time to see its effect on overall exposure. Experiment with settings like f/2.8 at 1/60 second and ISO 400 versus f/8 at 1/250 second and ISO 100 to notice the different results.
Adjusting White Balance and Autofocus Settings on a DSLR
Start by setting the right white balance. Your camera has presets like Daylight, Cloudy, Tungsten, and Custom K. For bright outdoor scenes, choose Daylight to keep colors natural. On overcast days, select Cloudy for a warmer feel. Indoors under artificial light, use Tungsten to cut down on yellow tones. If you need exact control, Custom K lets you set the specific color temperature.
For autofocus, begin with One-Shot mode when your subject stands still. One-Shot quickly locks focus, which works great for portraits. For moving subjects, use AI Servo mode to keep adjusting the focus as your subject moves. AI Focus mode can automatically choose between One-Shot and AI Servo, which is handy when you are still learning your settings.
You can also pick focus points in the viewfinder for better control. Use the focus ring on your lens to fine-tune the focus. For example, when shooting a close-up, turning the focus ring can sharpen your subject’s eyes. Using these white balance options and autofocus techniques helps capture clear images with true colors.
Composition, Depth of Field, and Lighting Strategies with Your DSLR
Begin with the rule of thirds. Imagine two horizontal and two vertical lines that divide your viewfinder into nine equal parts. Place your subject at one of the intersections to create a balanced look. For example, position your subject at the top left intersection for a natural feel.
Next, look for natural lines in the scene. Roads, paths, or rivers can guide the viewer's eye right to your subject. This technique adds depth and motion to your photos.
Framing is also important. Use elements like windows, archways, or trees to border your subject naturally. For instance, you can frame a street performer with an archway to highlight the act and give context to the scene.
Your camera’s aperture (or f-stop) helps control how much of the scene is in focus. A low f-stop (like f/2.8) creates a blurry background, which is great for portraits. A high f-stop (such as f/16) keeps more details sharp, making it ideal for landscapes.
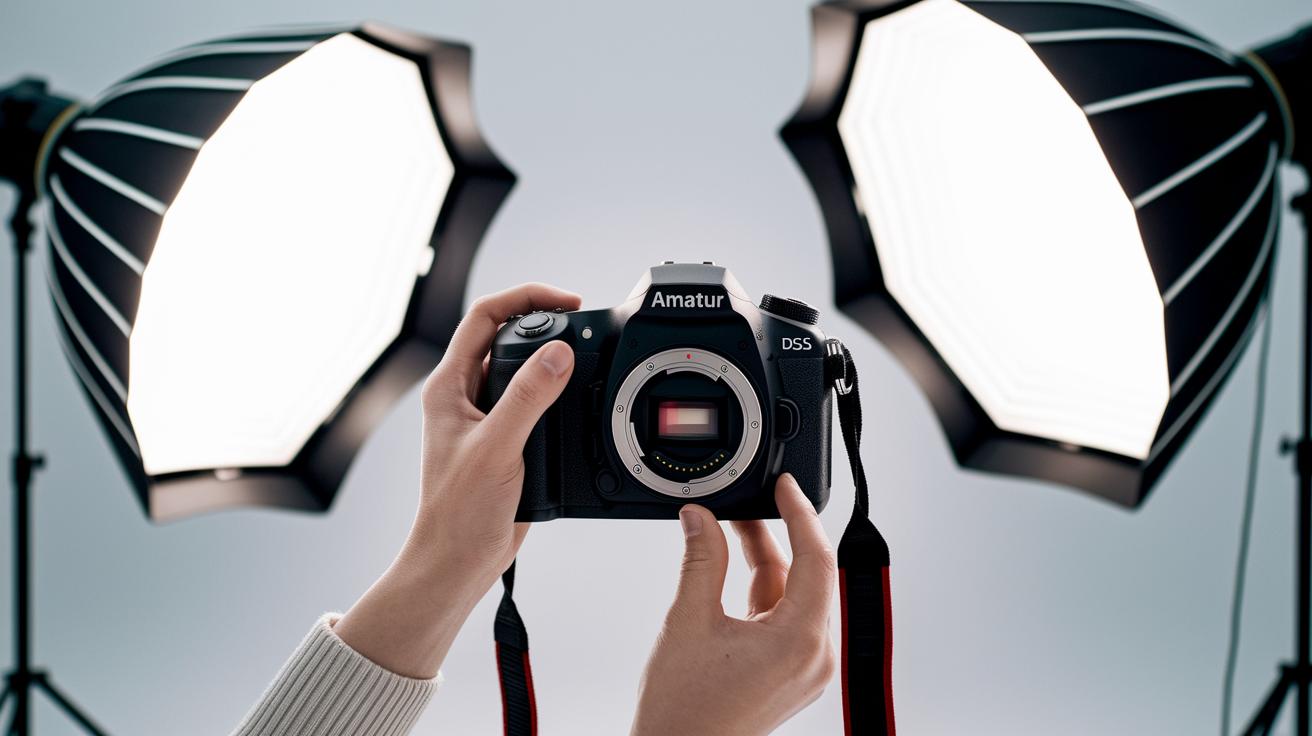
Lighting can make a big difference, too. Try shooting during the golden hour, early morning or late afternoon, when the sun gives off a warm, soft glow. If natural light is low, use an on-camera flash to brighten shadows or a reflector to bounce light onto your subject.
- Shoot in early morning or late afternoon for soft natural light.
- Use an on-camera flash to fill in dark areas.
- Employ reflectors to reduce harsh shadows by bouncing sunlight.
Mix these techniques to capture photos that tell a clear and engaging story.
Shooting Modes and Video Recording Essentials on DSLR
When you set up your DSLR, you have several modes to choose from. In Auto mode, the camera decides everything for you. In Program (P) mode, the camera still helps, but you get some control. In Aperture Priority (Av) mode, you choose the aperture (which affects depth of field) while the camera sets the shutter speed. In Shutter Priority (Tv) mode, you pick the shutter speed, and the camera handles the aperture. Once you know the basics, Manual (M) mode lets you adjust both settings yourself.
When it comes to video, using Live View is important. Switch to Live View to see a full preview on the rear screen. You can set the frame rate to 24 fps for a cinematic feel, 30 fps for a natural look, or 60 fps for smooth, fast action. Compare resolutions like 1080p and 4K to choose the level of detail you need, you get extra detail and more cropping options with 4K.
Audio matters too. The built-in microphone works okay, but an external mic can give you clearer sound. Keep your mic levels in the right range to avoid distortion.
Quick tip: Try recording a short clip at each frame rate to see the differences in smoothness and detail. Experiment with settings until you find what works best for you, and remember that each change impacts both image and sound quality.
Memory Cards, Lens Choices, and Essential DSLR Accessories
Start with a good memory card. Look for cards marked Class 10, UHS-I, or UHS-II that come in sizes from 32 GB to 128 GB. A 64 GB Class 10 card is a popular choice because it offers good speed and plenty of space.
Then, choose the lens that fits your style. The 18–55 mm kit zoom lens works well for everyday use. But if you need crisper photos or better results in low light, consider a prime lens like a 35 mm or 50 mm. For example, a 50 mm lens can give you sharp portraits with a nicely blurred background.
Accessories also make your DSLR more versatile. A sturdy tripod keeps your camera steady. UV or ND filters help control light and protect your lens. A blower brush cleans dust from your sensor and lens. And a practical camera bag makes transporting your gear safe and easy.
- Memory Card: Class 10, UHS-I/UHS-II (32–128 GB)
- Lenses: 18–55 mm kit zoom or 35 mm/50 mm prime
- Accessories: Tripod, UV/ND filters, blower brush, camera bag
| Accessory | Purpose |
|---|---|
| Tripod | Steady shots |
| UV/ND Filters | Control light and protect the lens |
Check out best DSLR cameras for beginners for more tips on starter camera kits.
DSLR Maintenance, Firmware Updates, and Troubleshooting Tips
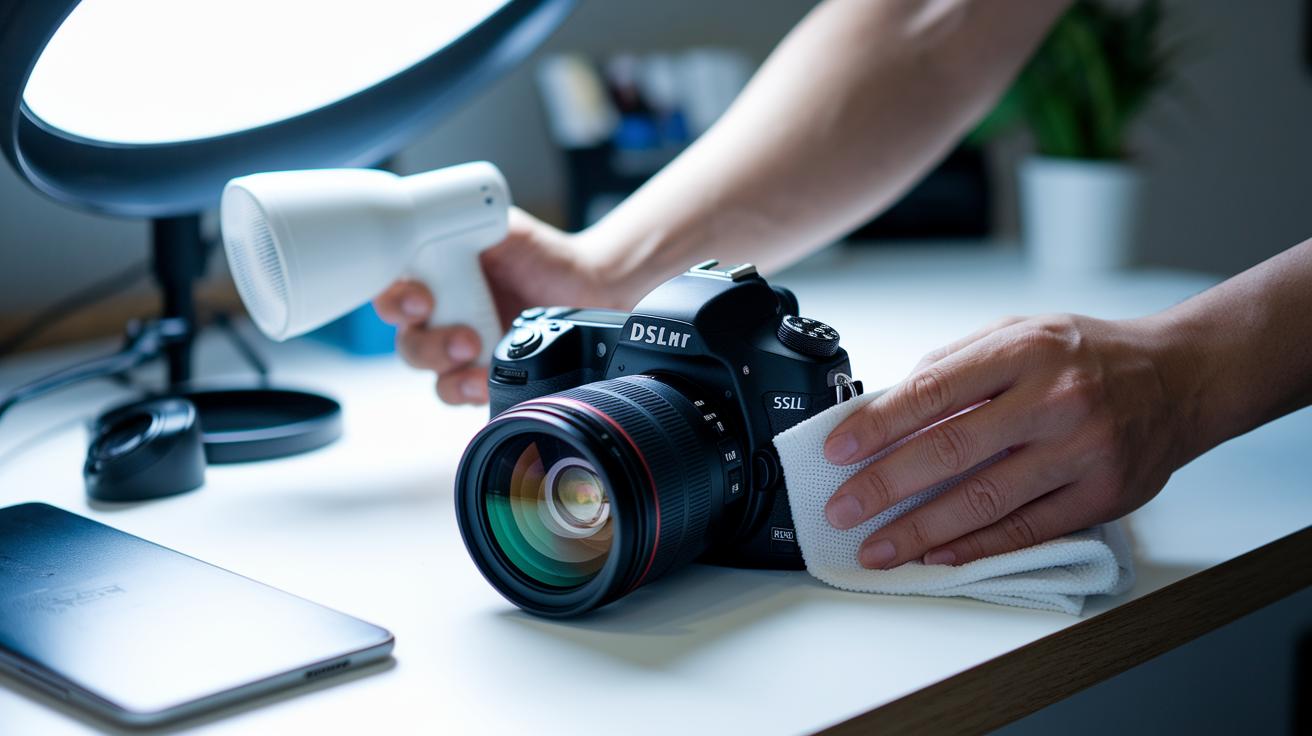
Keeping your DSLR in great shape is easier than you might think. Start by using an air blower to remove dust from the sensor. If you need extra cleaning, lightly dampen a cotton swab with a sensor-safe cleaning solution. For your lens, use a microfiber cloth with a cleaning solution made for optical glass. This keeps your images clear and protects against scratches.
Next, check your camera’s firmware often. Head to the setup menu to find the firmware version. Compare this version with the latest one on the manufacturer’s official website. Updating the firmware is simple and can fix small glitches while adding useful improvements.
You can also extend your battery life with a few smart tips. Turn off features you aren’t using, like Wi-Fi when you aren’t transferring images. Look for an Eco mode and use it whenever you can. These steps help your battery last longer, especially during long shooting sessions or when you’re on the go.
- Use an air blower to remove dust.
- Clean your lens with a microfiber cloth and proper solution.
- Check for firmware updates on the official website.
- Save battery by disabling Wi-Fi and using Eco mode.
Regular care and timely updates will keep your DSLR running smoothly and help it last longer.
Final Words
in the action, you learned the basics of DSLR camera setup, from mounting the 18–55mm lens and inserting a charged battery to configuring menu settings and capturing your first test shot.
We covered camera components, manual controls, and balancing the exposure triangle for clear images.
We also touched on white balance, autofocus, composition tips, shooting modes, accessories, and maintenance to keep your DSLR in top shape.
These steps show exactly how to use dslr cameras so you can capture fantastic images confidently and with ease.
FAQ
How to use DSLR cameras for beginners?
Using DSLR cameras for beginners means mounting your lens, inserting a charged battery, and loading an SD card. Start with Auto mode, set basic settings like date/time and image quality, and then practice taking shots.
How to use DSLR cameras for photography and take good pictures?
Using a DSLR for photography involves applying proper composition techniques, controlling exposure with the exposure triangle, and experimenting with manual settings to improve image quality and creative control.
How do people use DSLR cameras as discussed on Reddit?
Advice on Reddit suggests reading community guides, asking for tips, and sharing experiences. Users emphasize starting in Auto mode and gradually moving to manual controls as skills improve.
What is a DSLR camera guide for Beginners PDF?
A DSLR camera guide for Beginners PDF is a downloadable resource that explains setup steps, basic functions, and shooting tips. It helps new users quickly learn how to use their camera.
How to use a DSLR camera in manual mode?
Using a DSLR in manual mode means adjusting aperture, shutter speed, and ISO on your own. Manual mode gives you full control over exposure and lets you tailor settings to different lighting conditions.
How to use a DSLR camera for video recording?
For video, switch to Live View and set your frame rate and resolution. Adjust the audio settings by selecting the proper mic input, then record smooth, high-quality clips.
How to use Nikon and Canon DSLR cameras?
Using Nikon or Canon DSLR cameras follows similar steps: mount the kit lens, insert a charged battery and SD card, navigate through menus, and refer to the brand manual for any specific settings or controls.
How does a DSLR camera work step by step?
A DSLR camera works by capturing light through a lens, reflecting it off a mirror onto a sensor, and recording images. This process lets you adjust settings manually for each shot.
What is the 20 60 20 rule in photography?
The 20 60 20 rule in photography means balancing your image with 20% highlights, 60% midtones, and 20% shadows to achieve a well-exposed photo with pleasing contrast and detail.
What should I know about models like Nikon D3500, D5600, D7500, Canon EOS 250D, EOS 2000D, and Nikon D850?
These models cater to varying needs from beginners to enthusiasts. They offer differences in features, performance, and price, so reviewing detailed specs and comparisons helps you choose the best fit.

