
Have you ever recorded shaky video that makes your work seem rough? We all have been there. This guide shows you how to get steady shots using optical image stabilization (hardware help), in-body stabilization (camera feature), and electronic methods. With a few simple tweaks to your settings and clever mounting tips, you can turn jittery clips into smooth, watchable videos. Read on to see how easy changes can boost your video quality and make every adventure look like a pro production.
Mastering Image Stabilization on Your Action Camera: Step-by-Step Guide
Start by choosing a stabilization mode. Most action cameras offer three types: Optical Image Stabilization (OIS), In-Body Image Stabilization (IBIS), and Electronic Image Stabilization (EIS). OIS moves lens parts to counter small shakes, which helps reduce blur in low-light settings. IBIS shifts the sensor itself across different directions, making it a good choice if you swap lenses often. EIS works by cropping and analyzing frames to keep footage steady during fast movements. Some brands also have special modes like FlowState that give you smooth, gimbal-like stabilization without extra gear.
Next, adjust your camera settings to match your needs. Pick a resolution such as 4K if you want extra detail or 1080p for longer recording times. Set the frame rate to between 60 and 120 fps if you plan to slow down your clips later. Use a faster shutter speed (1/100 second or more) to cut down on motion blur. For example, you might note, "Fast shutter speed helps capture quick actions clearly."
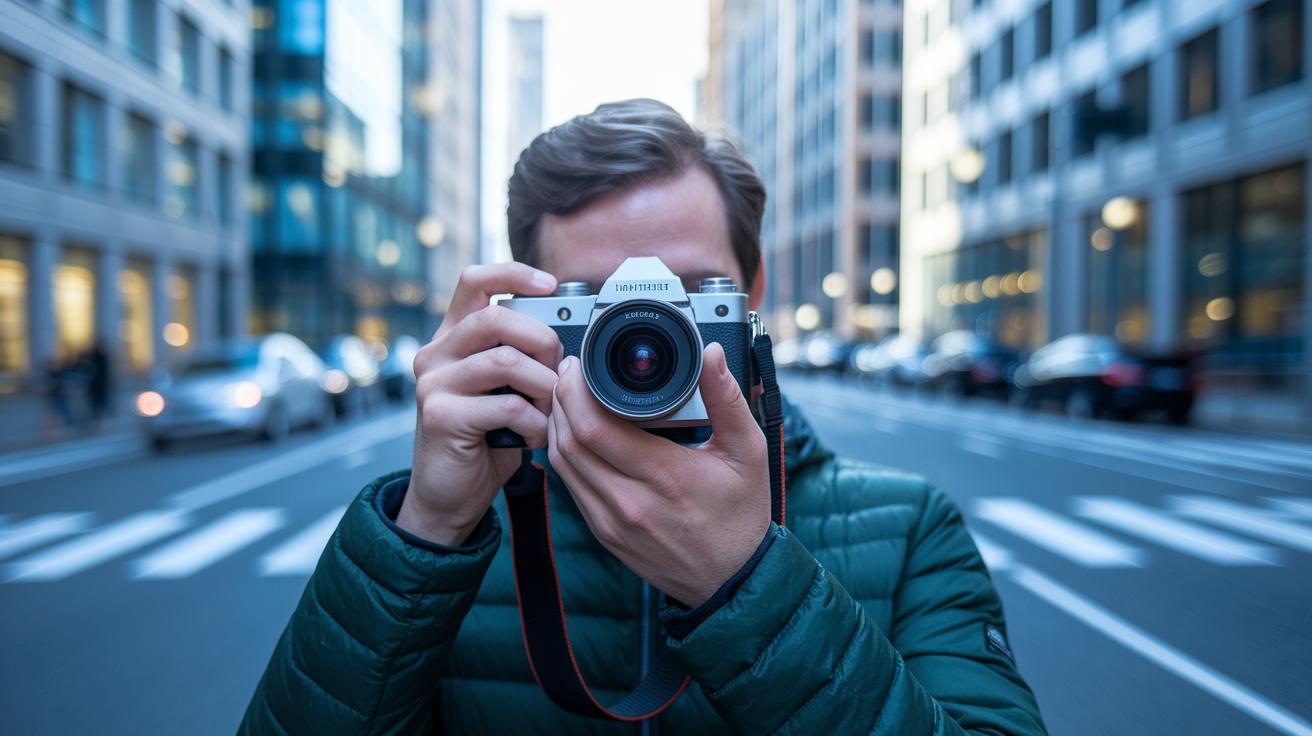
Mount your camera securely to reduce extra shakes. Hold it with both hands and keep your elbows close to your body. You can also press the camera against your chest or lean it on a sturdy surface like a wall. This firm grip helps reduce high-frequency shakes that even the best stabilization methods might miss.
Finally, test your camera setup before recording your main shot. Move slowly while panning and use short, controlled actions to see how each stabilization mode performs. Make small adjustments and watch the changes. This careful approach helps you get smoother footage every time you record.
Understanding Optical, In-Body, and Electronic Stabilization in Action Cameras
Optical Image Stabilization (OIS) adjusts the camera's lens parts to smooth out small shakes. It works best when you have a steady hand or a controlled setting. For instance, a photographer might say OIS stops minor jitters when capturing a moving subject.
In-Body Image Stabilization (IBIS) moves the sensor inside the camera. This method works with almost any lens and steadies the image on several axes. Many users appreciate that IBIS can make older lenses perform better by reducing shake.
Electronic Image Stabilization (EIS) uses software to adjust each frame. It crops and lines up the images to deliver smoother footage. This is especially useful during quick pans, although it may trim a little bit of the scene.
FlowState technology combines frame-by-frame analysis with digital tweaks to keep videos steady. It works well for 360° filming and dynamic shots. Many users find that FlowState captures smooth and immersive footage even during fast action.
Together, these methods show how mechanical techniques (OIS and IBIS) differ from digital ones (EIS and FlowState). Each offers strong points that help you choose the best option based on your shooting needs.
Configuring Action Camera Stabilization Settings for Best Results
Begin by choosing a resolution that meets your needs. High resolutions like 4K show more detail and work great for busy action scenes. If you want to save storage and record longer, 1080p might be a better choice. For example, you can switch to 4K when you need to capture every detail during a fast run.
Next, set the frame rate between 60 and 120 fps. A higher frame rate makes fast actions look smooth when slowed down. This is key to reducing motion blur in lively scenes.
Set your ISO based on the light available. Lower ISO values work best in bright conditions, while higher ISO settings can help in low-light. Keep in mind that higher ISO may add some grain to the final video.
A shutter speed of 1/100 second or faster helps keep the picture clear, especially when you are filming handheld. Use a faster shutter speed during quick movements to keep each frame sharp.
Make sure to adjust the White Balance so colors look natural as the lighting changes. You can also boost the Bitrate for richer detail in your videos, but higher Bitrates mean larger files, which might require extra time to edit later.
Action Camera Mounting and Gear Recommendations for Stable Footage
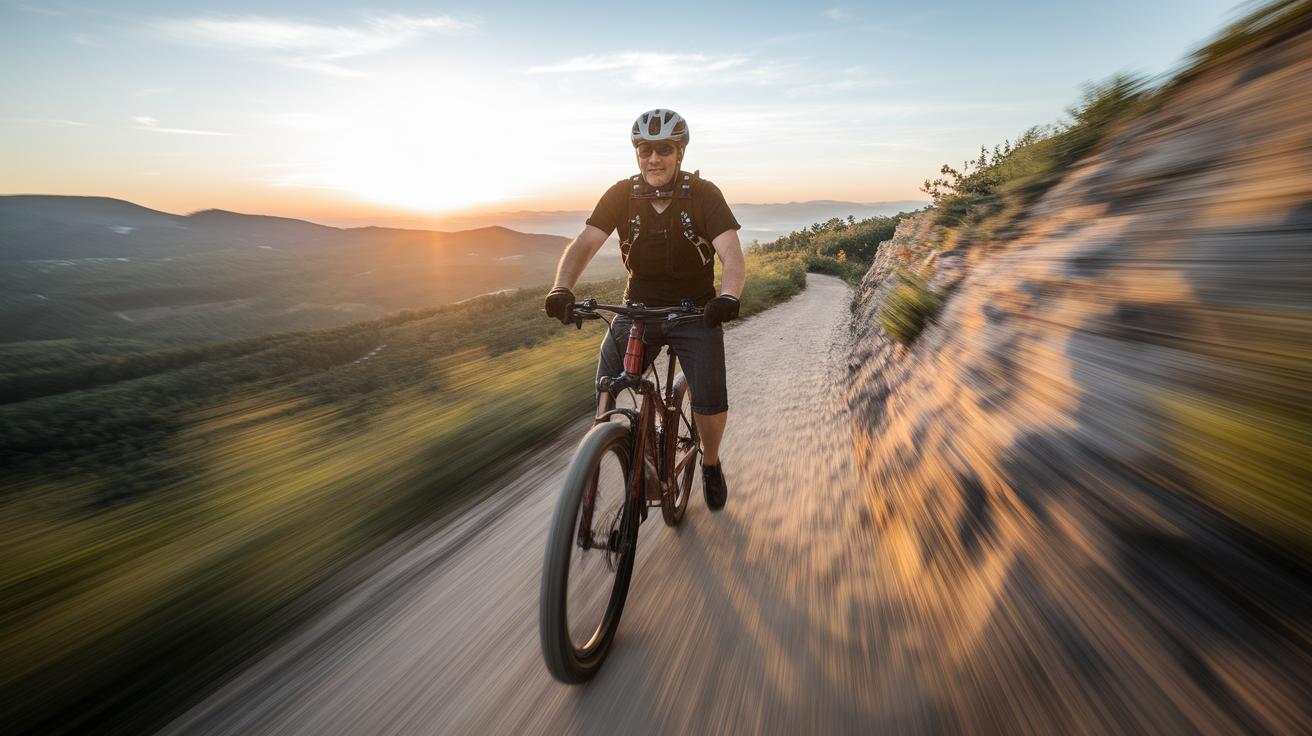
Getting steady shots starts with the right gear. Popular mounts like chest harnesses, helmet brackets, suction-cup mounts, and mini-tripods keep your action camera secure during intense movement. For example, a chest harness lets you capture first-person shots while keeping the camera in place.
Handheld stabilizers such as 3-axis gimbals help correct unwanted shake. They work well in fast-moving situations where every move matters. A gimbal smooths out the action, and many users add a handheld grip for extra stability.
Anti-vibration rigs and rubber-dampener adapters are also important when your camera faces lots of movement. These tools absorb shocks and reduce vibrations that could blur your video. Adding a rubber-dampener adapter can significantly lower tiny jitters in your footage.
Practical mounting tips include picking a secure spot and using the right fasteners. Always double-check that your gear is tightened and locked before filming. This simple step goes a long way toward minimizing wobble in rough conditions.
Key recommendations:
- Chest harnesses for immersive, body-mounted shots
- Helmet brackets or suction-cup mounts for dynamic views
- 3-axis handheld gimbals for smooth motion
- Anti-vibration rigs and rubber-dampener adapters to absorb shocks
Using these gear suggestions and vibration-damping techniques will help you capture smooth and professional footage, even in rugged settings.
Troubleshooting Unsteady Action Camera Footage: Quick Fixes
If your action camera footage looks shaky, low shutter speeds (under 1/30 s), loose mounts, or even strong winds might be the cause. When your video jitters, check if stabilization is on while using a tripod, as that can sometimes cause too many corrections. A few quick tweaks on set can save your shot.
Quick solutions:
- Turn off stabilization when using a tripod to stop extra corrections.
- Use a faster shutter speed to lessen motion blur in windy conditions.
- Tighten mounts and fasteners to secure your camera.
- Add ND filters in bright light to manage exposure without losing steadiness.
- Re-calibrate the camera’s gyro if the shake continues.
For example, one videographer said, "Switching off IBIS on a steady mount cleared up my constant image drift." These simple fixes require no special tools, just small adjustments that can instantly smooth out your footage.
Comparing Stabilization Performance of Top Action Camera Models
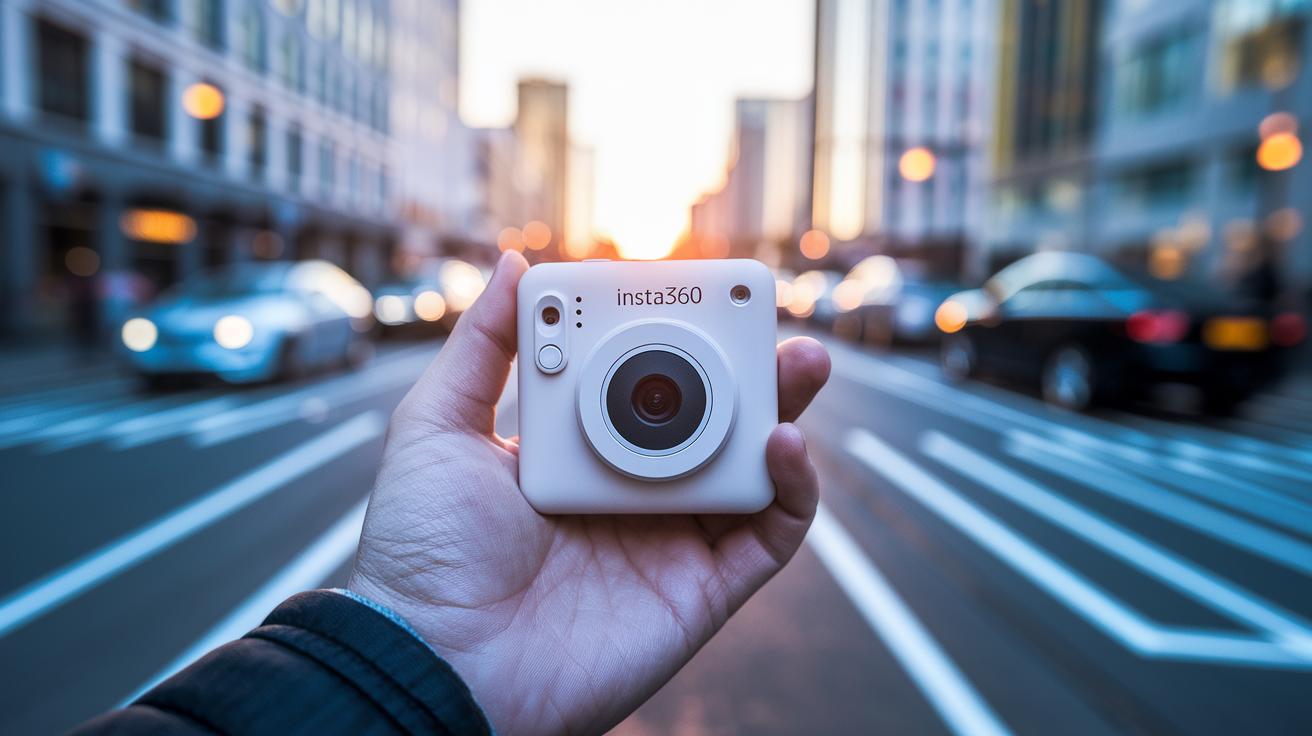
The Insta360 X4 uses FlowState stabilization to create smooth, full-sphere videos. In our tests, its steady performance shines even when you move fast or shoot in low light. Users appreciate that FlowState cuts down on shakes while keeping details in each shot.
Meanwhile, the Insta360 GO 3 packs advanced onboard algorithms into a very compact camera. It is perfect for quick captures when you need a small and light device. The algorithms work hard to smooth out motion, although you might notice a few hiccups during very rapid scenes. Some users have mentioned that its tiny size can slightly affect low-light performance.
The Insta360 ONE RS 1-Inch 360 Edition features a larger sensor combined with strong stabilization. This pairing delivers smooth footage in tricky low-light conditions, where clear images are a must. The larger sensor boosts image quality and helps keep recordings steady, even during long sessions.
Key points include:
| Aspect | Details |
|---|---|
| Stabilization Type | Optical (OIS) vs. Electronic (EIS) |
| Performance Impact | Shared processing power can affect stabilization during dynamic scenes |
| Low-Light Strength | Larger sensor models handle low-light better |
These facts can help you choose the right model. Whether you want immersive 360° videos, a compact design, or strong low-light performance, there is an option that fits your needs.
Editing and Specialized Software for Action Camera Video Stabilization
Video editing software can turn almost steady clips into perfectly smooth videos. For example, Insta360 Studio’s FlowState lets you track motion to smooth out leftover jitters, so your video looks pro. GoPro Player’s Reframe tool adjusts each frame using frame interpolation for a steady look.
If you want more control, try the Deshaker plugin in VirtualDub. It crops and smooths your footage to remove unwanted shifts while keeping the natural details. Premiere Pro’s optical-flow stabilization uses smart algorithms to check each frame and erase any extra shake.
These tools let you fix stability issues after recording, especially if your camera settings did not catch all the movement.
For instance, you might say, "Using optical-flow stabilization, each frame becomes sharper and turns shaky clips into smooth, professional video."
Key steps:
- Apply motion tracking.
- Use frame interpolation.
- Fine-tune crop-based adjustments.
Final Words
In the action, this guide walked through ways to keep your footage smooth. We broke down how lens shifts, sensor moves, and digital tweaks work to fight shake.
Simple steps covered mounting tips, camera settings, and quick fixes to steady your shots.
The action camera image stabilization guide stands as a quick reference for better video quality.
Keep these tips in mind, shoot confidently, and enjoy capturing clear, steady moments every time.
FAQ
What is the best action camera image stabilization guide?
The best guide explains stabilization types like OIS, IBIS, and EIS with a clear step-by-step process. It offers advice on settings, mounting, and filming techniques for smooth video capture.
What are the Insta360 X3, X4, X5, and GO 3S stabilization settings?
The Insta360 models feature dedicated stabilization menus using FlowState and other options. Users can adjust the settings to balance smooth footage and field of view based on their shooting needs.
What is the difference between OIS and EIS, and which is better?
OIS uses lens or sensor shifts to counter shake while EIS uses software cropping and motion analysis. Each method has trade-offs; OIS often preserves more image quality, whereas EIS works well in varied conditions.
How does the Insta360 X5 FlowState stabilization and electronic image stabilization algorithm work?
The FlowState stabilization uses real-time frame analysis to smooth footage efficiently, reducing shake without extra hardware. Its advanced electronic algorithm crops and aligns frames for consistent video quality.
Do action cameras have image stabilization?
Most modern action cameras include robust stabilization features, either through optical or electronic systems, to reduce shake and deliver clearer, smoother videos.
Does using EIS reduce video quality?
EIS may crop the frame slightly, but advanced algorithms work to maintain overall quality. This trade-off usually results in smoother footage without a significant drop in resolution.
What is image stabilizer mode 1 versus mode 2?
Image stabilizer mode 1 typically offers lighter correction for minor shakes, while mode 2 provides more aggressive stabilization for turbulent conditions, letting you choose the best level for your shot.

what is vidalista 40
what is vidalista 40
tadalafil 5mg alternative
tadalafil 5mg alternative
zudena pills
zudena pills
dutasteride prescription canada
dutasteride prescription canada
semaglutid tablete cijena
semaglutid tablete cijena
doxycycline dosage uti
doxycycline dosage uti
cialis pharmacy price
cialis pharmacy price
bupropion moa adhd
bupropion moa adhd
ketoconazole full overview
ketoconazole full overview
toradol summary
toradol summary
acular ketorolac side effects
acular ketorolac side effects
ivermectin scabies expert review
ivermectin scabies expert review
sildenafil 25mg price factors
sildenafil 25mg price factors
avanafil mechanism
avanafil mechanism