
Does your gaming setup feel as plain as a school desk? With a DIY accessory kit, you can change that in a snap. By adding simple tools like screwdrivers and LED strips, you can turn a basic desk into a lively command center. This guide walks you through clear, practical steps to create a gaming space that reflects your unique style while mixing fun with real tech know-how.
Essential Steps for DIY Gaming Accessory Setups
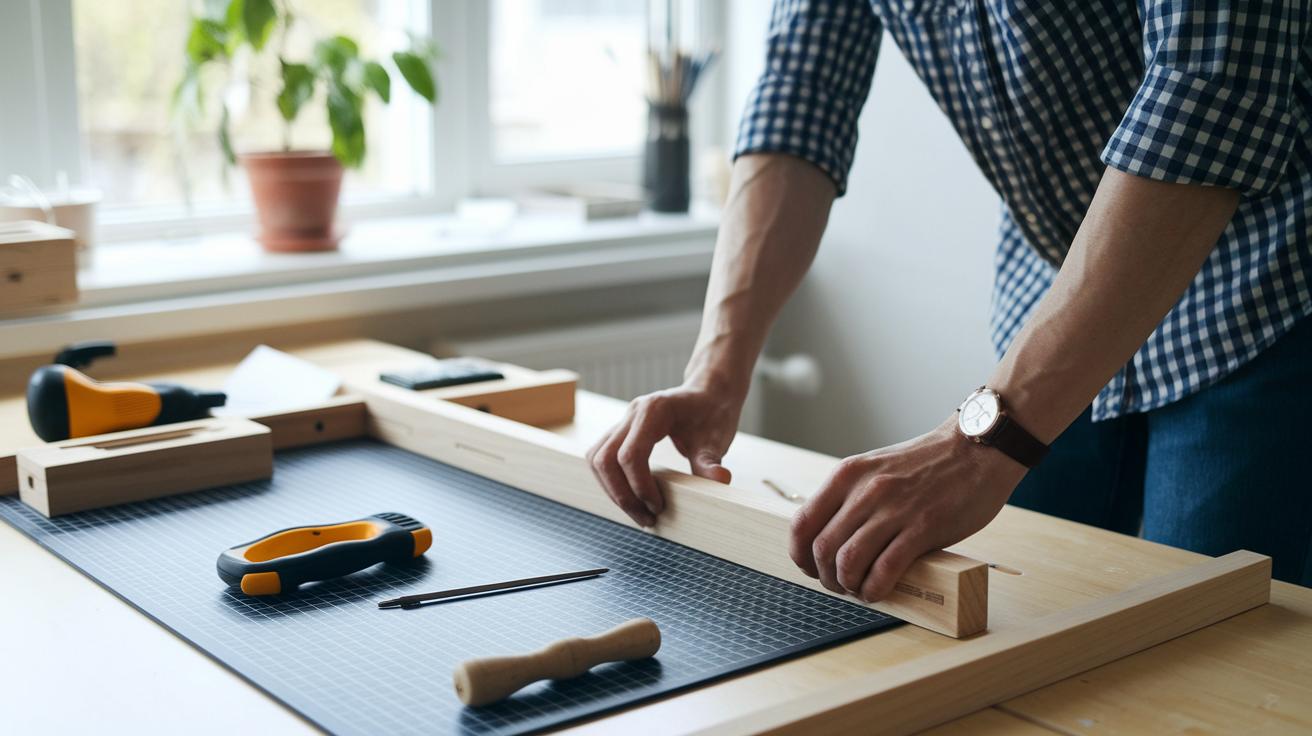
Start by gathering all the tools and accessories you need. Your gaming setup is more than just a PC or console. It includes things like monitors, keyboards, mice, desks, chairs, lighting, and audio devices. Make sure you have a toolkit with screwdrivers, soldering irons, zip ties, and even a 3D printer for custom parts. When planning your build, measure your desk space, say, a 47″×24″ area ready for transformation. This step lays the foundation for personalized upgrades.
Next, plan your materials and design layout for a smoother build. List out every item you need. Key parts might include WS2812B LED strips for ambient lighting, mechanical switches for custom keyboards, and Velcro straps to keep cables in order. It’s smart to have spare parts on hand; for example, ordering two or three extra switches for a keyboard project can save you time. A simple checklist to track quantities and specs makes the assembly process more systematic.
Once your setup is assembled, calibrate and test every device carefully. Run checks to ensure latency stays below 1 ms and inspect for issues like loose cables or unresponsive keys. A quick test sequence using a checklist, for example, testing sensor response and cable stability, can help confirm that every component works perfectly before you enjoy your custom gaming space.
Input Device Modification Projects for DIY Gaming Accessory Setups

Get ready to boost your gaming gear with DIY input device mods. These projects cover custom keyboards, tweaked mice, and build-it-yourself controllers that add better performance and a personal style to your setup.
Custom Keyboard Mods
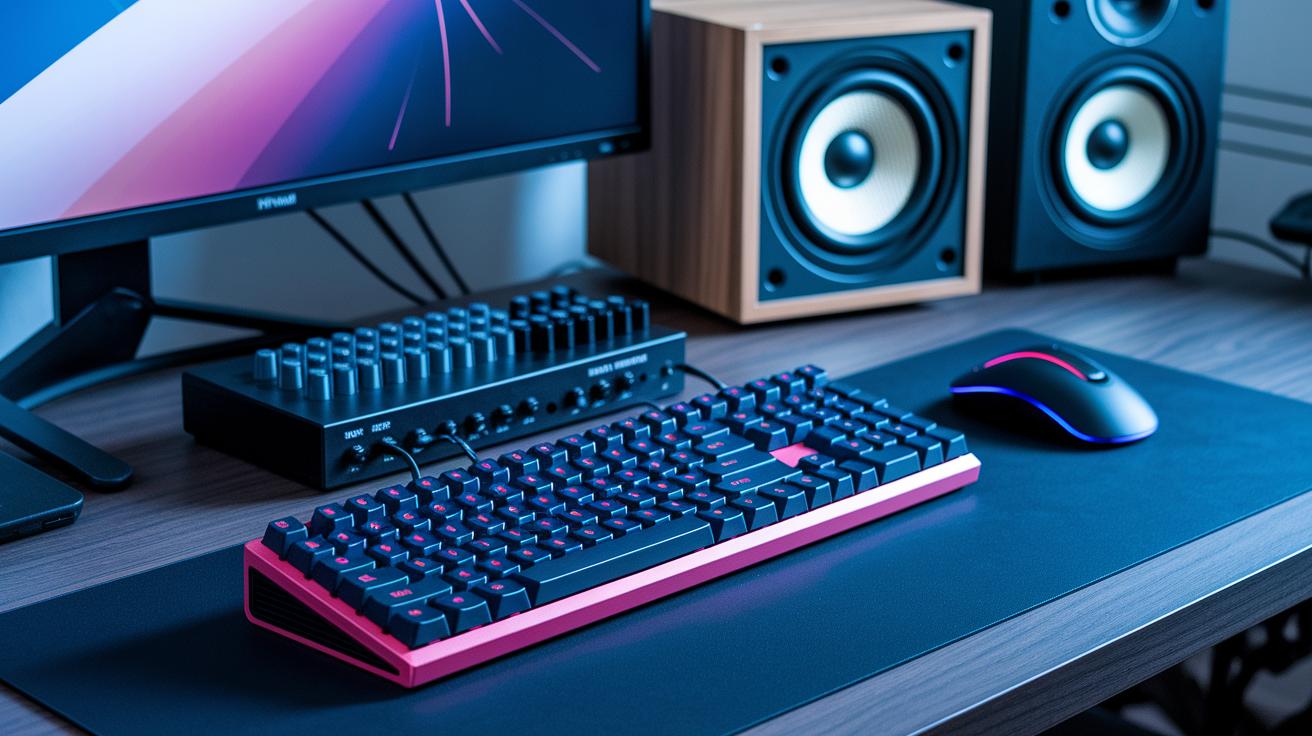
Custom keyboard mods use mechanical switches (Linear, Tactile, or Clicky) mounted on hot-swap PCBs. This lets you swap switches without soldering. You can choose RGB lighting (about 200 mA per strip) or plain keycaps based on your power needs. Start by taking off the old keycaps, then swap in new switches. Next, pick keycaps that not only feel good but also match your style. Finally, flash new firmware to set up your custom key functions.
Personalized Mouse Enhancements
Enhance your mouse by taking it apart and replacing key components. Swap an old sensor for a modern PixArt PMW3360 to improve tracking. You might add a 3D-printed shell to give it a unique look and better grip. Once everything is reassembled, adjust the DPI settings, which can range from 400 to 16,000 DPI, to fine-tune how it responds during gameplay. These mods can make your mouse feel more precise and responsive.
Home-built Controller Design
Create your own controller starting with a 3D-printed frame designed to fit your hand. Use an Arduino microcontroller to map buttons and add nRF24L01 wireless modules for a cable-free experience. Experiment with different ergonomic shell designs to see what fits best. This project blends creativity with technical skills to build a controller that meets your exact gaming needs.
Essential tools and materials include:
- soldering iron
- keycap puller
- replacement switches
- microcontroller board
- 3D printer filament
- braided cable kits
Always wear safety gear and work in a well-ventilated space. Test small changes after each step to make sure every part works correctly before moving on. This step-by-step testing approach helps prevent mistakes and makes the build process smoother.
Creative LED Lighting & Ambient Room Effects for DIY Gaming Accessory Setups
Brighten your gaming room with LED lighting that sets the perfect mood. These LED strips use WS2812B addressable lights (5 V, 60 LEDs/m), and you can control them with an Arduino or Raspberry Pi. They are customizable, so you can create a look that fits your style.
Begin by collecting all the supplies needed: LED strips, acrylic diffusers, voltage regulators, USB or SATA power supplies, and the proper wires. Then, draw a simple wiring diagram that shows how the power connects to the LED strips. Mount the strips behind your monitors or along the underside of your desk, leaving a 1-inch gap for an even glow.
Next, hook up the microcontroller to the LED strips and double-check that every connection has the correct voltage. Download and install the software, such as the FastLED library or OpenRGB, to link your PC with the LED setup. Adjust the wiring as needed until your layout matches your diagram.
When you set up the software, add multiple color profiles. For example, choose warm white (2700 K) for a cozy feel or cool white (6000 K) for a modern look. Play with the placement of the diffusers and the angle of light so that the lighting is soft on your eyes and makes your room look sharp.
Ergonomic Furniture & Workspace Customizations in DIY Gaming Accessory Setups
Transform your room into a comfortable workspace that helps you game longer without strain. Start with a solid desk setup.
DIY Ergonomic Desk Construction
Pick a height-adjustable desk frame that moves from 28 inches to 47 inches. Choose a steel frame that weighs about 35 lbs for lasting strength. Use a 1-inch MDF or oak tabletop weighing between 50 and 70 lbs for durability. Adding a cable tray underneath keeps your wires hidden and your space tidy.
Custom Chair Modifications
Boost your chair’s comfort by adding a DIY lumbar pillow with a memory foam core. Use PVC pipes to make adjustable armrests that fit your arm length and support your posture. Upgrading the caster wheels gives you smooth movement around the room with less effort.
Monitor Mount Fabrication
Secure your monitor with a VESA 75×75 or 100×100 bracket. Use a 3D-printed arm rated for 8 kg and a gas-spring mechanism that tilts 180° and rotates 360°. A vertical mount can free up to 20% of desk space. Regularly check your monitor’s setup to keep it stable and easy to adjust.
Cable Management & Wiring Optimization Techniques for DIY Gaming Accessory Setups
A neat cable setup is key to a smooth gaming experience. Good cable management improves your space, prevents tangles, and protects your cables from damage. When cables are organized, it’s easier to fix issues and keep your workspace safe. Whether you use under-desk trays or Velcro straps, every little detail helps create an efficient cable path.
| Solution Type | Material | Cost Range | Installation Difficulty |
|---|---|---|---|
| Under-Desk Tray | Steel (24″×8″) | $15–$25 | Moderate |
| Adhesive Cable Channel | PVC (1″) | $8–$12 per 6′ | Easy |
| Braided Sleeve | Polyester | Varies | Easy |
| Velcro Strap | Fabric | $5 | Easy |
For a clean cable route, secure your channels with adhesive mount points every 12 inches. Measure your cables and run them along the shortest path to cut down on clutter. Label each cable to make future tweaks or repairs simple. Use zip ties only when you want a permanent fix, and opt for Velcro straps if you plan to adjust things later. A clear label and smart routing can turn a chaotic mess into a setup that works as well as it looks.
Advanced Peripheral Systems & Budget-Friendly Mods for DIY Gaming Accessory Setups
Modular designs let you mix and match essential components like keypads and macro pads on magnetic rails. You can quickly swap parts to fit your needs. This setup reduces waste by allowing you to upgrade individual parts without replacing the whole system. It is a smart choice if you want your gaming setup to grow along with your needs while keeping a sleek and practical look.
Build an integrated sound system for your streaming setup using a USB audio interface with a built-in digital-to-analog converter and amplifier. You can repurpose old PC speakers to create a custom speaker enclosure that boosts audio quality and adds style. For example, combining 3D-printed mounts with magnetic rails lets you add a keypad or macro pad that also works as a media control panel. Reusing household items and scavenged parts keeps costs low while enhancing performance.
Using old components is a great way to save money. Reuse smartphone speakers, salvage PC fans for extra cooling, and try making PVC microphone booms for your streaming mic. Always check solder joints and clean contacts with isopropyl alcohol to ensure strong connections. These tips help keep your setup reliable and affordable.
Final Words
In the action, we broke down each step for building a custom gaming setup. We covered planning accessories, sourcing and assembling materials, calibrating devices, and troubleshooting issues. We also mapped out input device mods, LED lighting upgrades, ergonomic furniture tweaks, clean cable routing, and advanced peripherals.
These diy gaming accessory setups empower you to create a personalized, efficient space. Enjoy the process and embrace the hands-on fun as you build your next-level gaming environment.
FAQ
What do DIY gaming accessory setups on Reddit offer?
DIY gaming accessory setups on Reddit offer community tips, real-world examples, and creative ideas from fellow gamers, helping you design and troubleshoot your own personalized gaming area.
What are some of the best DIY gaming accessory setups?
The best DIY gaming accessory setups mix solid cable management, custom lighting, and personalized devices to create an organized, stylish, and functional gaming space.
How do DIY gaming accessory setups for Xbox differ?
DIY gaming accessory setups for Xbox focus on integrating compatible controllers, headsets, and multimedia accessories that match the console’s design and enhance gameplay.
How do DIY gaming accessory setups for PS5 differ?
DIY gaming accessory setups for PS5 tailor the design to suit the console’s layout, incorporating accessories like optimized controllers and dedicated storage for cables and media.
How can I make my gaming setup look better for free?
Improving your gaming setup for free means focusing on cleaning up cables, rearranging furniture, and using available lighting to create a more organized and visually appealing space.
What is a gaming setup builder simulator?
A gaming setup builder simulator is a virtual tool that lets you design and experiment with different accessory layouts, enabling you to plan a setup before committing to a build.
How do you build a gaming setup PC?
Building a gaming setup PC requires selecting quality components, organizing cables effectively, and arranging peripherals to create a comfortable and efficient gaming station.
What makes an effective gaming setup?
An effective gaming setup combines comfort, neat organization, quality audio–visual devices, and personalized design touches to boost both performance and enjoyment.


cenforce d
cenforce d
minoxidil kirkland walmart
minoxidil kirkland walmart
ivermectin demodex treatment overview
ivermectin demodex treatment overview
minoxidil study‑based overview
minoxidil study‑based overview
vardenafil 20 mg description
vardenafil 20 mg description
avanafil pricing insights
avanafil pricing insights
vardenafil caution conditions
vardenafil caution conditions